
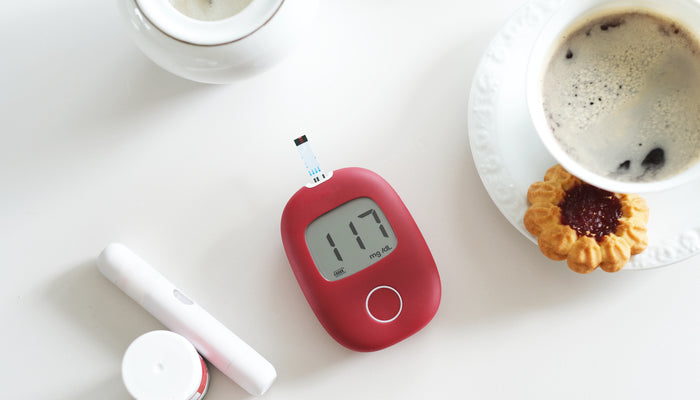
As technology has evolved, our healthcare devices have become smarter. For those who monitor their blood sugar levels, the innovation of a Bluetooth blood glucose meter has made the process more convenient and efficient. This advancement provides real-time data syncing with your smartphone or computer, allowing for easier tracking, trend analysis, and sharing with healthcare professionals. However, setting up the connection might seem daunting for some. That's why we have broken down the process into six simple steps, ensuring that you can easily connect your meter and enjoy its benefits.
Ensure Your Glucose Meter is Bluetooth Enabled
In the world of medical devices, the term "Bluetooth-enabled" is becoming increasingly prevalent. Just as we've become accustomed to Bluetooth headphones, speakers, and wearables, our health monitoring tools are also embracing this technology. But what does it mean for a glucose meter to be Bluetooth-enabled?
Firstly, a Bluetooth blood glucose meter is designed to transmit data wirelessly. Traditional glucose meters require manual logging of results, often leading to inconsistencies or skipped entries. Bluetooth capability eliminates this tedious process, automating the transfer of readings to other devices, such as smartphones or computers.
To determine if your glucose meter has this feature, begin by checking its packaging. Manufacturers who've incorporated Bluetooth into their devices often promote this feature prominently on the box. Additionally, delve into the product details, either through the user manual or the manufacturer's website. Often, these sources will provide step-by-step guidance on utilizing the Bluetooth function.
Furthermore, the glucose meter itself might have visual cues indicating its Bluetooth compatibility. This could be a distinct symbol, often resembling the recognizable 'B' of the Bluetooth logo, or an indicator light that flashes when Bluetooth is active. Remember, even if you've been using your glucose meter for some time, it's possible you've overlooked its Bluetooth capabilities. Given the added convenience and functionality this feature offers, it's worth taking a moment to investigate.
Charge and Power On Your Meter
The fundamental step before diving into any tech-related task is ensuring the device in question has sufficient power. The principle remains true for your Bluetooth blood glucose meter. Charging it might sound rudimentary, but a device's performance can significantly differ based on its power levels.
Start by locating the charging port on your glucose meter. Most modern meters come equipped with USB charging, offering the flexibility to charge via wall outlets, computers, or even power banks. Check the user manual to identify the type of charger required, whether it's micro-USB, USB-C, or a proprietary connection.
Enable Bluetooth on Your Smartphone or Computer
On the device you wish to pair with your glucose meter, ensure Bluetooth is enabled. For smartphones, this can usually be found in the settings menu under 'Bluetooth' or 'Connections.' If using a computer, the process might vary based on the operating system. For Windows users, go to 'Settings,' then 'Devices,' and finally, 'Bluetooth & other devices.' Mac users can find Bluetooth settings under 'System Preferences.'
Search for Your Glucose Meter
Once Bluetooth is enabled on both devices, your phone or computer should start discovering nearby devices. On your device's Bluetooth settings, click on 'search' or 'discover' to scan for available devices. After a short while, your Bluetooth blood glucose meter should appear on the list of available devices, usually identified by its model name or number.
Pair and Confirm the Connection
Once you spot your glucose meter on the list, tap or click on its name to initiate pairing. You might be prompted to enter a PIN or passcode, which can typically be found in the meter's user manual. Some devices might auto-pair without a code. After successfully pairing, a confirmation message or indicator will appear on both the glucose meter and your device. This signals that the connection has been established.
Set Up Any Required Applications
While many Bluetooth glucose meters can directly sync readings to your device's default health apps, some might require proprietary applications for a comprehensive experience. These applications can offer enhanced features like data visualization, reminders, and the ability to share data with your healthcare provider.
Visit your device's app store and search for the manufacturer's name or the glucose meter model. Download the recommended app, sign up or log in if required, and follow the on-screen instructions to sync your meter. Once set up, your readings will automatically sync with the app, allowing you to conveniently monitor and analyze your blood sugar levels.
The convenience of a Bluetooth blood glucose meter is undeniable. It offers a seamless way to track your glucose readings, ensuring you're always in the loop about your health. With these six straightforward steps, connecting your meter to your device becomes a breeze.